As we spoke at length about the key benefits of lotion bars just the other day, today we are going to dive deeper into the process of making your very own lotion bars at home using natural and easily accessible ingredients.
Just like crafting a beard oil, beard balm, mustache wax, and even a beard wash, making your own grooming products can be an enriching and satisfying experience.
Being in control of the ingredients used allows for customization and ensures the product is tailored to your specific needs and preferences. This is particularly beneficial in the case of lotion bars, a nature-inspired alternative to liquid lotions that are portable, less messy, and free from preservatives.
Here’s an easy-to-follow guide on how to make DIY lotion bars.
At A Glance: DIY Lotion Bars Recipe
| Ingredient | Quantity |
|---|---|
| Beeswax | 1 cup |
| Shea Butter | 1 cup |
| Carrier Oil | 1 cup |
| Vitamin E Oil | 15 drops |
| Essential Oils | As per your preference |
Steps to Make DIY Lotion Bars

1. Gather Your Ingredients
The base recipe for making a lotion bar is quite simple. You will typically need beeswax, shea butter, and a carrier oil in equal proportions. Beeswax offers a natural and environmentally friendly way to harden your lotion bars, while shea butter and a carrier oil provide the moisturizing power.
Carrier oils are available in many different types, and each has its own unique properties. They range from coconut oil to almond oil, jojoba oil, or even olive oil. We recommend going with one with a lower comedogenic rating to avoid the risk of clogged pores – like hemp seed oil or argan oil.
You will also need Vitamin E oil, which acts as a natural preservative, and your choice of essential oils for fragrance. You can get creative with the essential oils, combining different scents to create your own signature fragrance.
2. Melt the Base Ingredients
To create the base of your lotion bar, you’ll need to melt the beeswax, shea butter, and carrier oil together. You can do this using the double boiler method.
This involves placing a heat-safe bowl over a pot of simmering water, gently melting the ingredients together. Keep stirring throughout the mixing process to ensure an even consistency.
3. Add Essential Oils and Vitamin E
Once your base ingredients have melted completely and are thoroughly mixed, you can remove the bowl from the heat. At this point, you will add the Vitamin E oil and your chosen essential oils. Stir the mixture again to ensure everything is well combined.
4. Pour Into Molds
Next, carefully pour the mixture into silicone or aluminum molds. Silicone molds come in various shapes and sizes, allowing you to create fun and unique designs for your DIY lotion bars.
5. Let it Set
Allow the lotion bars to cool and harden. This can take anywhere from 2 to 4 hours, depending on the size of your molds and the room temperature. For faster results, you can put the molds in the refrigerator.
Once they are completely set, carefully remove the lotion bars from the molds. And there you have it! Your homemade, all-natural, and eco-friendly lotion bars are ready to use.
Starter Recipes
Here are a few recipes you may want to try out if you are new to making lotion bars.
1. The Masculine Manly Bar
For this aromatic bar, you will need:
| Ingredient | Quantity |
|---|---|
| Beeswax | 1 cup |
| Shea Butter | 1 cup |
| Carrier Oil | 1 cup |
| Vitamin E Oil | 15 drops |
| Cedarwood Essential Oil | 10 drops |
| Sandalwood Essential Oil | 5 drops |
The combination of Cedarwood and Sandalwood creates a rich, woodsy scent ideal for the quintessential modern man.
2. The Calming Vanilla and Bourbon Bar
Name a better combination than vanilla and bourbon! This fragrance combo is an absolute treat to rub on some chapped hands after a long day.
| Ingredient | Quantity |
|---|---|
| Beeswax | 1 cup |
| Shea Butter | 1 cup |
| Carrier Oil | 1 cup |
| Vitamin E Oil | 15 drops |
| Vanilla Essential Oil | 10 drops |
| Bourbon Essential Oil | 5 drops |
This lotion bar smells like warm, rich bourbon mixed with the comforting scent of vanilla. It’s a comforting fragrance that feels like a warm embrace in the colder months.
3. The Invigorating Citrus Bar
Looking for a fresh, invigorating scent to wake you up in the morning? Say no more!
| Ingredient | Quantity |
|---|---|
| Beeswax | 1 cup |
| Shea Butter | 1 cup |
| Carrier Oil | 1 cup |
| Vitamin E Oil | 15 drops |
| Grapefruit Essential Oil | 7 drops |
| Lemon Essential Oil | 5 drops |
| Orange Essential Oil | 3 drops |
This citrus bar is a great pick-me-up, with refreshing grapefruit, lemon, and orange essential oils. It’s bright and energizing, the perfect way to start your day.
4. Beeswax-Concentrated Cinnamon Bliss
If you want to make a lotion bar from beeswax and essential oils only, this simple cinnamon-scented bar is a fabulous option.
| Ingredient | Quantity |
|---|---|
| Beeswax | 2 cups |
| Cinnamon Essential Oil | 20 drops |
In this lotion bar, the greater amount of beeswax contributes to a firmer texture, making it perfect for travel. The cinnamon essential oil provides a warm, comforting fragrance, reminiscent of a cozy winter day.
Helpful Tips to Keep in Mind When Making a Lotion Bar

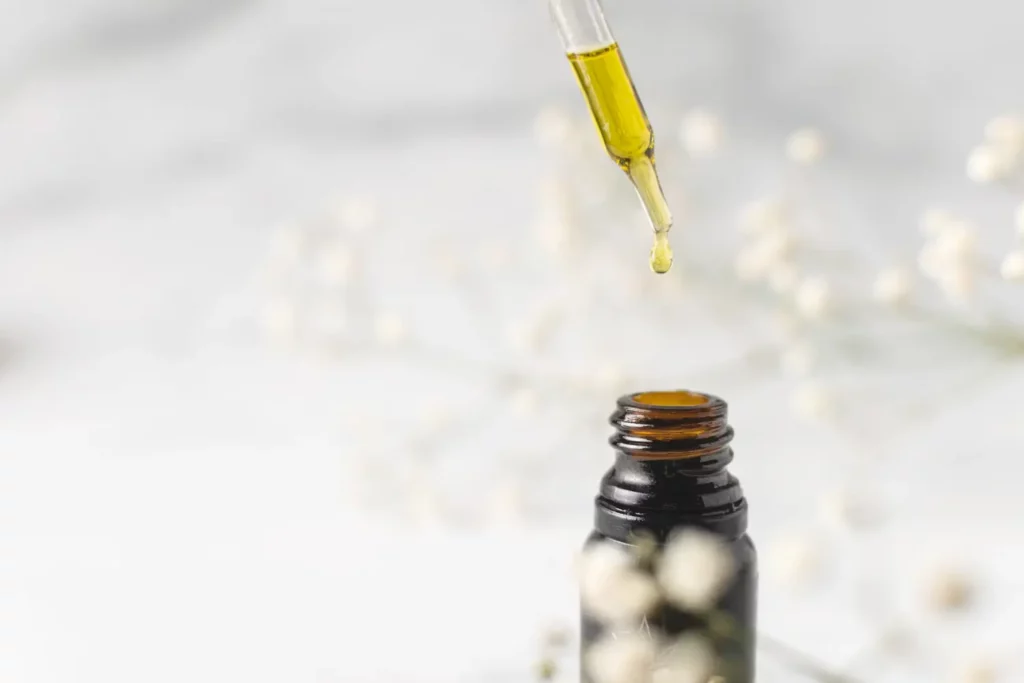
- Quality ingredients: Buy the best quality ingredients you can afford. High-quality beeswax, shea butter, carrier oil, and essential oils will create a product that is better for your skin. Many DIY enthusiasts recommend organic, unrefined, and raw ingredients because they retain more beneficial properties than highly processed ones. Also make sure they are in amber bottles so the ingredients haven’t degraded over time.
- Get creative: Apart from the base ingredients, you can add other items like glitter, dried flowers, or even coffee grounds to personalize your lotion bars. These additions can make your lotion bars more visually appealing and even provide extra skincare benefits.
- Store properly: Store your lotion bars in a cool, dry place. If you live in a warmer climate, you might have to keep them in the refrigerator to prevent them from melting.
- Experiment with ratios: If you find your lotion bars are too greasy or too hard, don’t be afraid to experiment with the ratios. Adjust the amount of beeswax for a firmer or softer bar, and adjust the oils for a more or less greasy feel. Ideally, it should have some stiffness to it but still be soft enough to glide on smoothly.
Creating your own lotion bars can be a fun, rewarding experience. Not only will you get to enjoy a skin-nourishing, eco-friendly product, but you may also find that DIY lotion bars make thoughtful, handmade gifts for your loved ones.